How to Create a PayPal Account in Kenya via M-Pesa: A Step-by-Step Guide
Are you tired of missing out on global online shopping opportunities due to limited payment options? Do you want to know how to create a PayPal account in Kenya via M-Pesa and unlock the door to seamless international transactions? You’re in the right place! In this comprehensive guide, we’ll walk you through the process of setting up a PayPal account in Kenya using M-Pesa, the popular mobile payment service.
Why Do You Need a PayPal Account in Kenya?
Having a PayPal account in Kenya opens up a world of possibilities. With PayPal, you can shop online from international retailers, receive payments from clients worldwide, and even send money to friends and family abroad. The best part? You can do all this using your M-Pesa account, making it convenient and secure.
In Kenya, PayPal is an essential tool for freelancers, online entrepreneurs, and anyone who wants to tap into the global digital economy. By learning how to create a PayPal account in Kenya via M-Pesa, you’ll be able to take advantage of these opportunities and more.
Requirements for Creating a PayPal Account in Kenya via M-Pesa
Before we dive into the step-by-step process, make sure you have the following requirements:
- A valid M-Pesa account
- A Kenyan ID or passport
- A working email address
- A mobile phone with internet access
Once you have these requirements in place, you’re ready to start creating your PayPal account in Kenya via M-Pesa.
Step-by-Step Guide to Creating a PayPal Account in Kenya via M-Pesa
Follow these easy steps to set up your PayPal account:
Step 1: Go to the PayPal website and click on “Sign Up”
Visit the PayPal website ([www.paypal.com](http://www.paypal.com)) and click on the “Sign Up” button. Select “Kenya” as your country and choose “Personal Account” or “Business Account,” depending on your needs.
Step 2: Enter Your Email Address and Password
Enter a valid email address and create a strong password. Make sure to choose a password that’s unique and hard to guess.
Step 3: Add Your M-Pesa Account
In this step, you’ll link your M-Pesa account to PayPal. Enter your M-Pesa phone number and password to authenticate the connection.
Step 4: Verify Your Account
PayPal will send a verification code to your email address. Enter the code to activate your account.
Step 5: Add Your Kenyan ID or Passport
Upload a scanned copy of your Kenyan ID or passport to complete the verification process.
Step 6: Set Up Your PayPal Wallet
Once your account is verified, you can set up your PayPal wallet by adding your M-Pesa account as a funding source.
How to Use Your PayPal Account in Kenya via M-Pesa
Now that you have a PayPal account in Kenya via M-Pesa, you can start using it to make international transactions. Here are a few ways to use your PayPal account:
- Shop online from international retailers
- Receive payments from clients worldwide
- Send money to friends and family abroad
- Use PayPal to pay for services like web hosting and online courses
Remember to always follow PayPal’s terms and conditions, and ensure you understand the fees associated with each transaction.
Tips and Tricks for Using PayPal in Kenya via M-Pesa
To get the most out of your PayPal account in Kenya via M-Pesa, keep the following tips in mind:
- Always use a secure internet connection when accessing your PayPal account
- Keep your account information up-to-date and accurate
- Monitor your account activity regularly to detect any suspicious transactions
- Use strong passwords and avoid sharing them with anyone
By following these tips and understanding how to create a PayPal account in Kenya via M-Pesa, you’ll be able to enjoy seamless international transactions and take your online business to the next level.
Setting Up Your PayPal Account in Kenya via M-Pesa: A Step-by-Step Guide
Creating a PayPal account in Kenya via M-Pesa can seem daunting, but with the right guidance, it’s a breeze. Below, we’ve broken down the process into easy-to-follow steps.
| Step | Instructions |
|---|---|
| 1. Register for a PayPal account | Visit the PayPal website (www.paypal.com/ke/home) and sign up with your email address and password. |
| 2. Add M-Pesa as a payment method | Log in to your PayPal account, go to “Wallet,” and click “Link a payment method.” Select “M-Pesa” and follow the prompts to link your M-Pesa account. |
| 3. Verify your M-Pesa account | PayPal will send a verification code to your M-Pesa account. Enter the code on the PayPal website to complete the verification process. |
| 4. Set up your payment preferences | Go to “Payment preferences” and select M-Pesa as your preferred payment method. You can also set up a default payment method for online transactions. |
Getting Started with PayPal in Kenya via M-Pesa: A Summary
By following the simple steps outlined above, you can easily create a PayPal account in Kenya via M-Pesa. This integration offers a convenient and secure way to make online transactions and receive payments. With your PayPal account set up, you can now explore the world of online shopping and business opportunities.
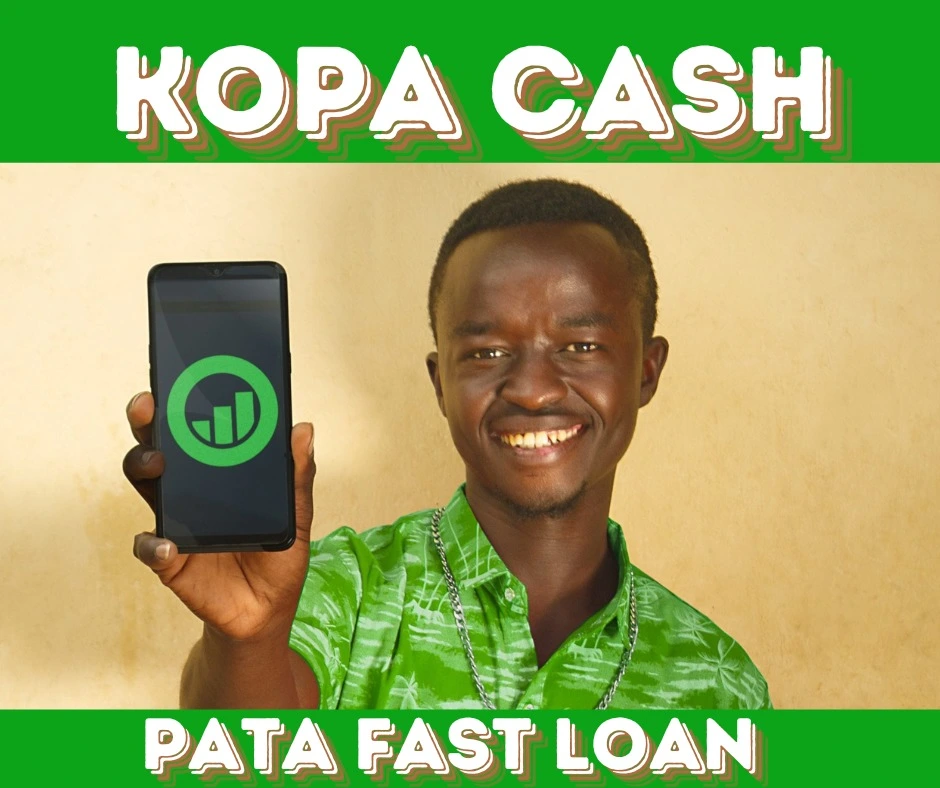
Ready to take the next step? Visit Kopacash.com to learn more about leveraging PayPal and M-Pesa for your online transactions. Discover how you can maximize your online earnings and grow your business with our expert guidance and tools.
Don’t wait – sign up for a PayPal account today and start experiencing the benefits of online transactions with M-Pesa!
Frequently Asked Questions about Blogging for Beginners
What is the best way to choose a niche for my blog?
Choosing a niche for your blog involves identifying a specific topic that you’re passionate about and have expertise in. Consider your hobbies, interests, and areas of knowledge, and research popular topics in those areas. It’s also essential to ensure that your niche has a sizable audience and is monetizable.
How do I register a domain name for my blog?
To register a domain name, you’ll need to choose a registrar such as GoDaddy or Namecheap. Brainstorm a unique and memorable domain name, and then check its availability using the registrar’s search tool. Once you’ve found an available domain, follow the registrar’s registration process to secure your domain name.
What is the difference between a free and self-hosted blog?
A free blog is hosted on a platform like WordPress.com or Blogger, and is limited in terms of customization and monetization options. A self-hosted blog, on the other hand, is hosted on your own server or through a hosting provider, giving you full control over design, content, and monetization. Self-hosted blogs require more technical expertise, but offer greater flexibility and potential for growth.
How often should I post new content on my blog?
The frequency of posting new content on your blog depends on your target audience and goals. As a beginner, aim to post at least once a week to establish a consistent schedule and keep your audience engaged. However, it’s more important to focus on quality over quantity, ensuring that each post provides value to your readers.
How can I drive traffic to my new blog?
Driving traffic to a new blog requires a combination of strategies. Start by creating high-quality, engaging content that resonates with your target audience. Then, promote your blog through social media, participate in online communities related to your niche, and engage in search engine optimization (SEO) techniques to improve your search engine rankings. You can also consider guest posting on other blogs and collaborating with influencers in your niche.